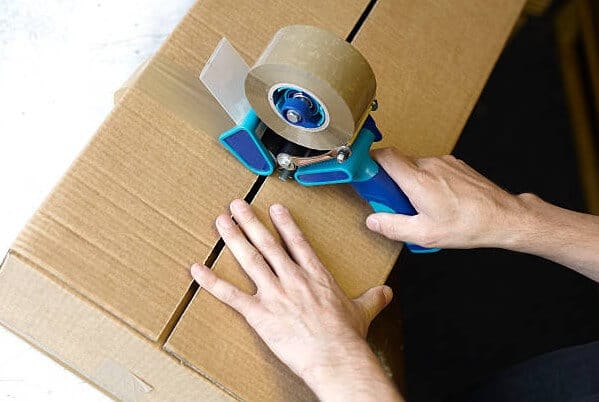
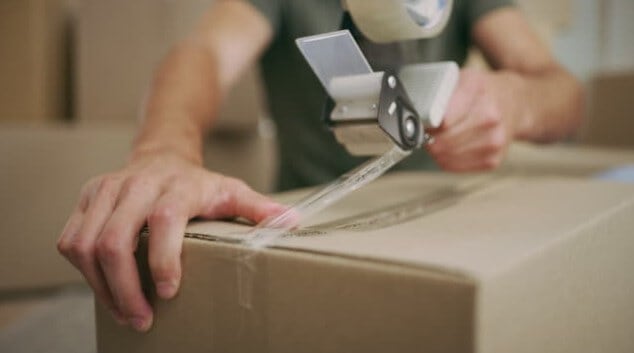
Tape dispensers are a very handy tool for easy and efficient packaging of boxes and packages, which saves you a lot of time. However, sometimes you may get confused about how to load a tape roll on the packing tape dispenser.
Table of Contents
- How To Thread a Packing Tape Dispenser?
- Steps That You Need To Follow to Make Packing Tape Ready To Use:
- How To Thread a Packing Tape Dispenser: In Depth Guide and Summary
- Step 1: Try to Locate the end of Your Tape Roll
- Step 2: Locate the Spindle in the Dispenser and Slide the Tape Roll With the Sticky Side Facing Downwards
- Step 3: Twine the Tape Roll the end Between the Guide and the Roller
- Step 4: Pull and Fix the Tape Exactly Over the Sharp Blade
- Step 5: Testing the Actual Tension of Your Tape Dispenser by Rolling Out a Small Piece of Tape
- Step 6: To Increase the Tension, Tighten the Spindle Nut in the Clockwise Direction
- Step 7: To reduce or Decrease the Tension, Loosen the Same Spindle Nut by Rotating it Anti-Clockwise
How To Thread a Packing Tape Dispenser?

Steps That You Need To Follow to Make Packing Tape Ready To Use:
In these two things, there are a few sub steps which you need to follow. Let us know the order in which you need to do this to get the perfect result every time.
Step 1: FIXING THE TAPE IN THE PACKING TAPE DISPENSER
This first part is the most important step. This will teach you the way to fit and adjust your tape roll on your packing tape dispenser. To do this correctly, you will have to follow four steps in total.

So, these are the four steps that you need to obey to fix the tape roll in the packing tape dispenser smoothly. When you are done with them, it is ready for use.
Step 2: TO PROPERLY ADJUST THE TENSION OF YOUR TAPE DISPENSER
After loading your taping dispenser, it is essential to know how to adjust the tape dispenser’s tension efficiently. Maintaining the correct tension of your tape dispenser, you can do all your packaging works smoothly.
This increases the efficiency of your tape dispenser too. This is also a part of loading your tape dispenser. Now, for the substeps, there are three in total.
So, there you go; these are the three simplest steps you need to perform to adjust the tension in your tape dispenser as per your requirement. Remember the movements closely, rotate the spindle clockwise for tightening or increasing the tension in the spindle and rotate it anti-clockwise to loosen it. Further, we will discuss these in detail too.
How To Thread a Packing Tape Dispenser: In Depth Guide and Summary
I have already mentioned the four steps which you should follow to load your packing tape dispenser correctly. Now, it is time to elaborate on those points for the sake of your better understanding.
Step 1: Try to Locate the end of Your Tape Roll
When you are about to load a new tape roll, then this step is an easy one. Because in the new ones the end is already marked clearly.
If you are using an old, used, or a roll with a seal already tampered with, then you have to find the end of that tape roll. The roll starts working from that end. It is easy to do.
Just run your fingernail or a sharpened edge of a knife all along with the used tape roll. You’ll feel it once your fingernail touches the end of the roll.
Once you have got it, pull out around 0.5 to 1 inch of tape (1 to 2 cm) of tape and then fold it back again, as before, on the roll.
This will help you to find the end pretty quickly next time. It will make it look exactly how the end of a brand new tape roll looks like.
Step 2: Locate the Spindle in the Dispenser and Slide the Tape Roll With the Sticky Side Facing Downwards
Hold the dispenser handle on your side, and the non-adhesive side of the tape roll must be facing upwards. Now, put the end of that tape roll towards the cutting blade and the roller.
Putting the roll in the spindle can be a bit shaky sometimes. When this happens, lay the dispenser on the floor and then try it. Placing it on a flat surface will give you extra stability.
Step 3: Twine the Tape Roll the end Between the Guide and the Roller
Look for the small slot between the metal guide and the dispenser roller. Now for fitting the tape through, open up the guide by pressing it down and tapping just below it.
While doing this whole process, do remember that the tape of the roll is facing downwards. If it is not facing down, it will not work as it will be sticking to the walls of the dispenser roller.
Step 4: Pull and Fix the Tape Exactly Over the Sharp Blade
While performing this last step, be careful, or else you will cut yourself. Pull the tape at least 1 to 2 inches (2.5 to 5 cm) above it to resist it.
After it, you have to pull the released tape back against the sharp blade to make an excellent and neat cut. Do not pull back the cut blade on the roller after it has been cut.
Step 5: Testing the Actual Tension of Your Tape Dispenser by Rolling Out a Small Piece of Tape
Check the appropriate tension of your tape dispenser by testing it on an old box. We recommend you not to test it in a package that you need to tape. Cut the tape with the sharp blade after rolling the tape out for about 13 cm (5 inches).
If this works smoothly, then the tension of your packing dispenser is fine and good to go. If you feel tough friction, then the tension of the dispenser needs to be adjusted. The following steps will be on how to adjust it.
Step 6: To Increase the Tension, Tighten the Spindle Nut in the Clockwise Direction
The but in the middle of the spindle is from where you adjust the tension of your tape dispenser.
To tighten it, rotate the spindle but in the clockwise direction. This increases the pressure in your tape dispenser.
Step 7: To reduce or Decrease the Tension, Loosen the Same Spindle Nut by Rotating it Anti-Clockwise
When the tension in your tape dispenser is way too much, then the smooth rolling of the tape will not happen in your packaging. For decreasing the pressure in your tape dispenser, rotate the spindle but in the anti-clockwise direction.
Conclusion
We have tried to keep things simple to make them easy for you to understand. As we mentioned above, you can load your tape dispenser with comfort with the four easy steps. Along with loading the tape dispenser, it is also essential to maintain the tension on the tape dispenser to make it work smoothly. For that, we provided three easy steps to do it. We hope that following all the steps properly; you will be skilled in this very soon.